Introduction
This is becoming quite the tradition, and based on the count of views of my previous posts, a popular one indeed. 🙂
I’m a man of traditions, so I’m sticking true to that, and therefore updated my PowerShell script which will enable you to install RSAT for Windows 10 v20H2 automatically and unattended.
The script received some minor changes, and is now also capable of temporarily disabling WSUS, and re-enabling it again post installation.
Over the years and since I created the first script, I have received a lot of comments saying, that if a device is configured to use WSUS, installation of Features on Demand may fail if certain configuration is not in place. So this is another attempt to have the most success with the use of my script.
PowerShell
The script requires administrative rights as well as access to the Internet (RSAT is installed through Microsoft Update).
The script is build around Get-WindowsCapability, Add-WindowsCapability and Remove-WindowsCapability.
The script comes with 5 options:
- -All (-All is installing ALL the features within the RSAT bundle)
- -Basic (-Basic is only installing AD DS, DHCP, DNS, Group Policy Management and Server Manager)
- -ServerManager (-ServerManager is only installing the Server Manager)
- -Uninstall (-Uninstall removes all RSAT features again)
- -DisableWSUS ( -DisableWSUS will disable and re-enable WSUS in the process of installing RSAT)
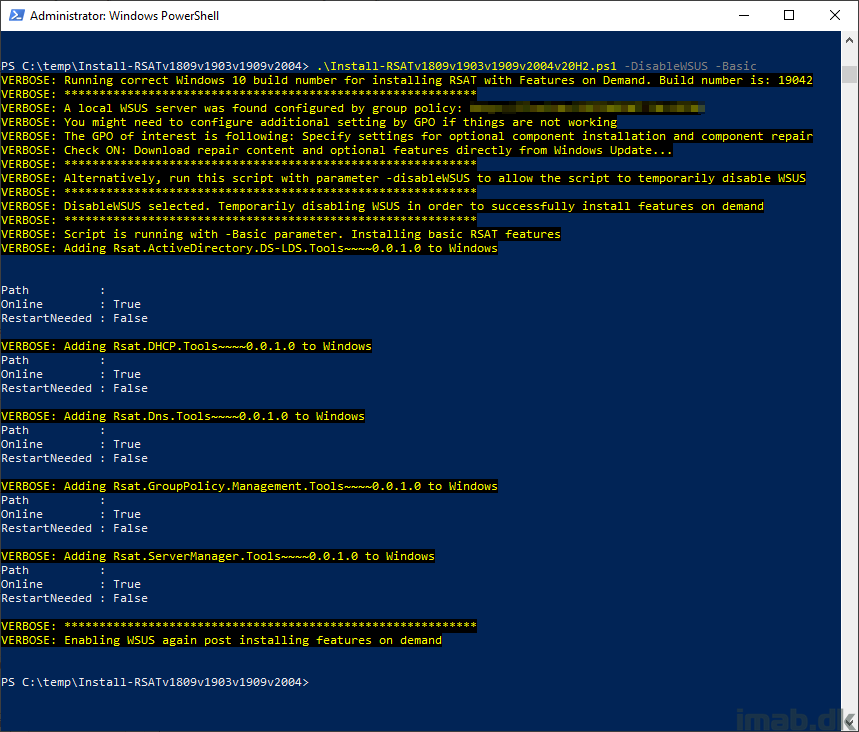
Below an example of running the script manually with the -Basic and -DisableWSUS parameters on Windows 10 v20H2:
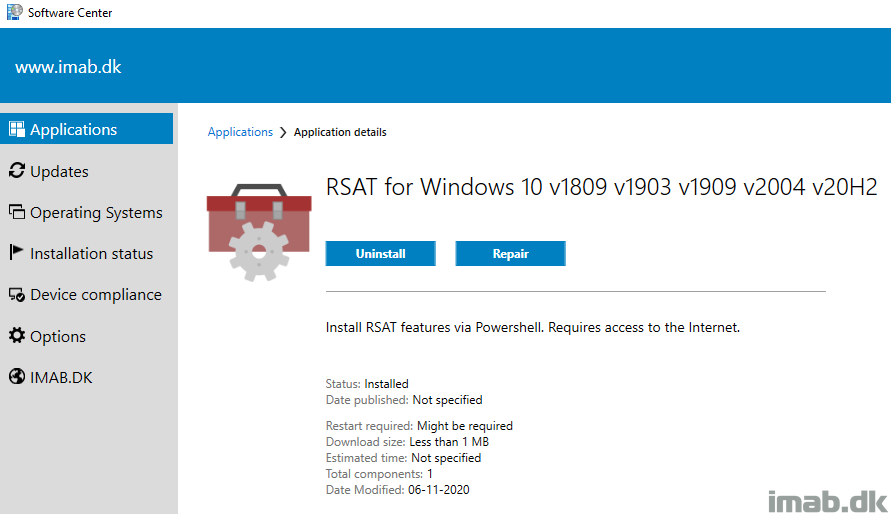
Configuration Manager
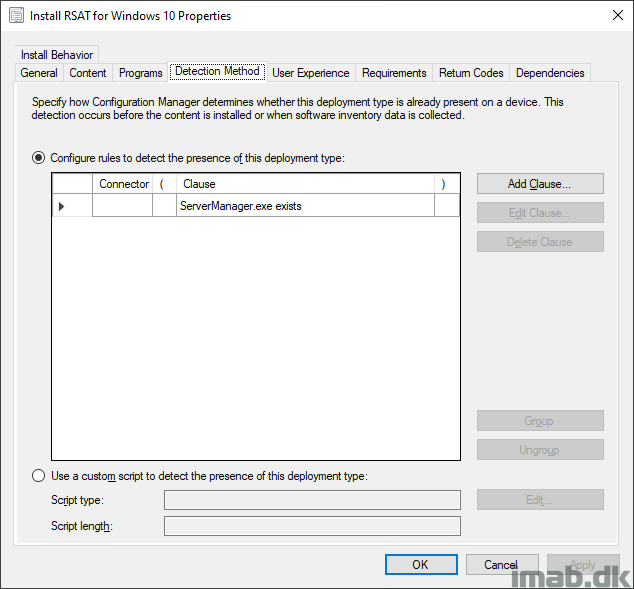
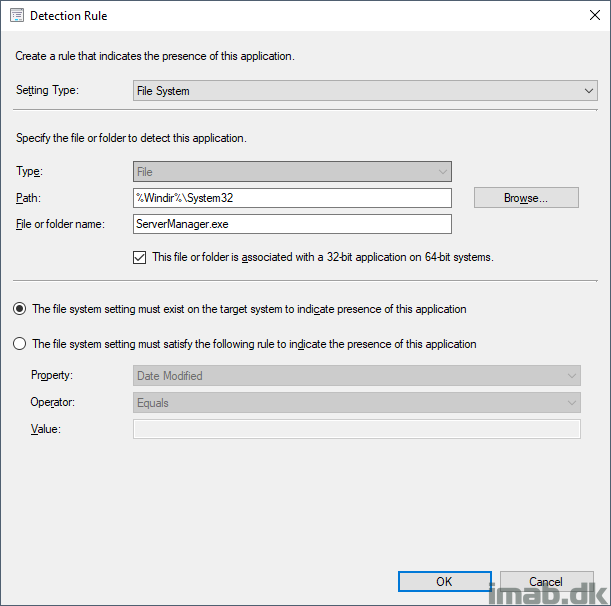
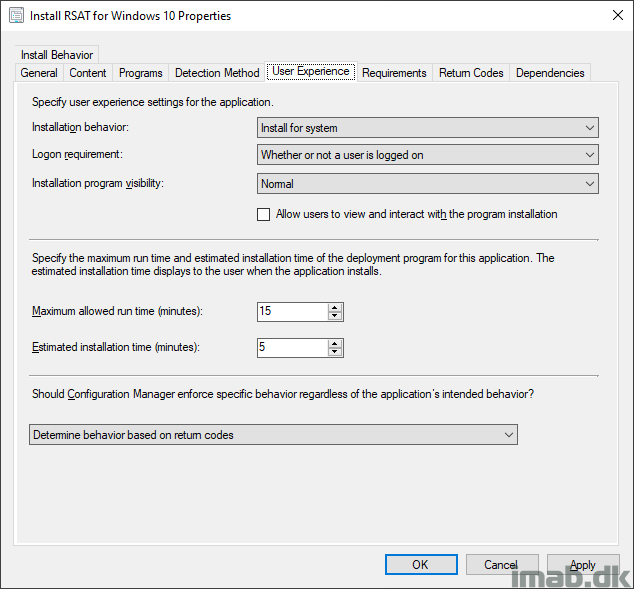
I’m putting the Powershell script to use with an application in ConfigMgr. While this is pretty standard ConfigMgr, I have included a few snippets of the application below.
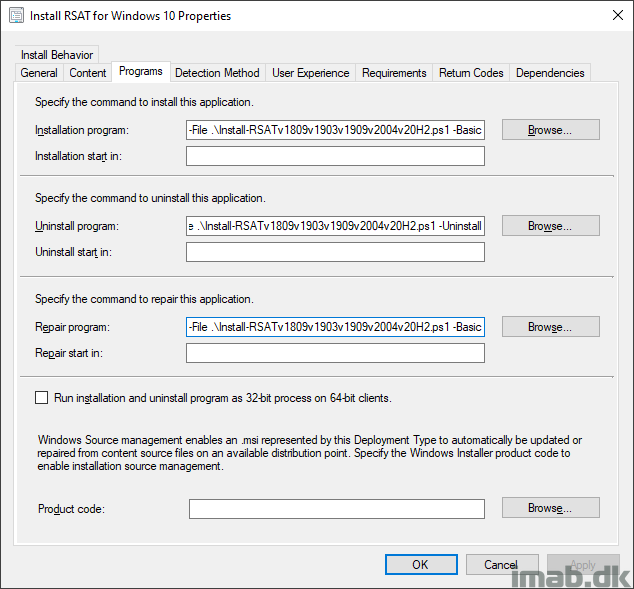
The installation program:
powershell.exe -ExecutionPolicy Bypass -NoLogo -NonInteractive -NoProfile -WindowStyle Hidden -File .\Install-RSATv1809v1903v1909v2004v20H2.ps1 -Basic
The uninstall program:
powershell.exe -ExecutionPolicy Bypass -NoLogo -NonInteractive -NoProfile -WindowStyle Hidden -File .\Install-RSATv1809v1903v1909v2004v20H2.ps1 -Uninstall
The repair program:
powershell.exe -ExecutionPolicy Bypass -NoLogo -NonInteractive -NoProfile -WindowStyle Hidden -File .\Install-RSATv1809v1903v1909v2004v20H2.ps1 -Basic
Download
The script is now located on my GitHub page: https://github.com/imabdk/Powershell/blob/master/Install-RSATv1809v1903v1909v2004v20H2.ps1
ENJOY 🙂
Hi,
When creating SCCM Application – what type of Application do you select in ‘Create Application Wizard’ window?
I have tried – for me this installation fails. Error: 0x1(1)
https://ibb.co/cX9V1db
Awesome script. I’ve used it more times then I can count now but thought I would let you know that the link at the bottom of this post seems to have a bad version of the script linked to it. If you right click on it and select save as the script fails on line 169 at character 35. But if you go to your GitHub page and get the script from the raw option everything works perfectly.
I’ve heard that before, and I’m not sure why. I usually always, also with anybody else’s scripts go into raw mode and copy/paste from there. Not sure what the browser does when selecting to download 🙁
works like charm !!!
Thanks! Solved my issue of the install failing via the GUI
Thanks for putting this together.
Good Script, works perfect, solved my different requirements.
Thank you
BitLocker management would be a great addition to Basic. Thanks!
This is what I have when I run the script.
VERBOSE: Running correct Windows 10 build number for installing RSAT with Features on Demand. Build number is: 19042
VERBOSE: ***********************************************************
Hi Martin,
Absolutely love this script, would you be able to update it for 21H1 and 21H2?
Thanks!
Will this script work as-is for Win10 21H2, or Win11? Or what needs to be updated in the script for it to work?
How easy would it be to use the Offline Media with this script?
Has anyone managed to get this working with 21H2 yet? It would be great if it could.